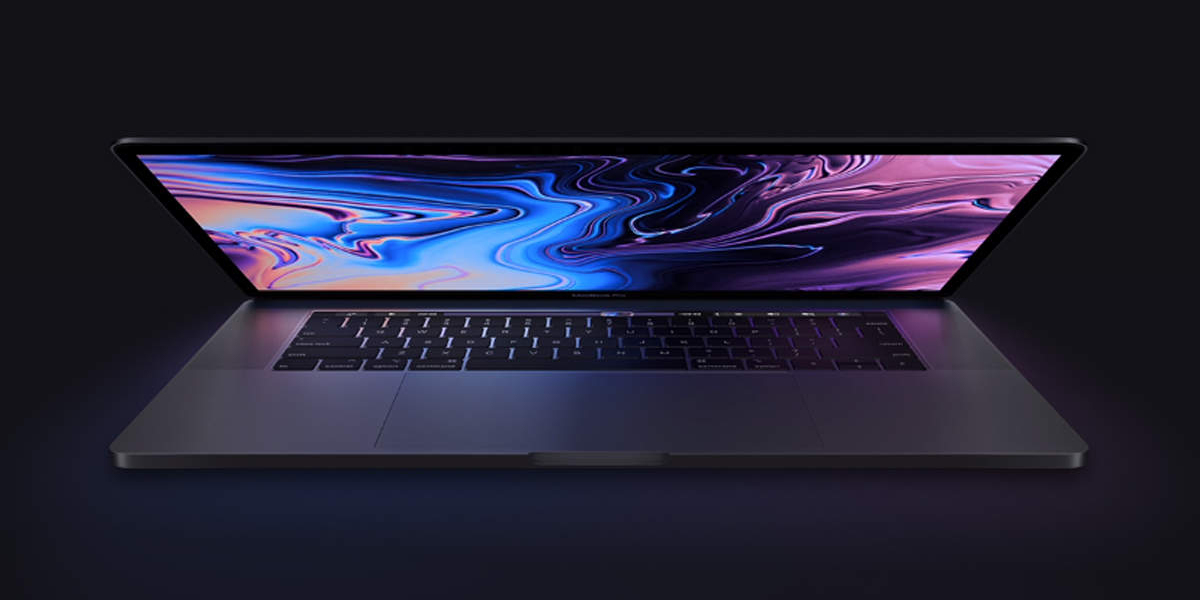
In today's tech-driven world, Mac laptops have become an essential part of our daily lives. The MacBook Air M1, known for its sleek design and impressive performance, is a popular choice among users. However, accidents happen, and one common mishap is a cracked or damaged screen. In this, we will guide you through the process of Mac laptop Air M1 Screen Replacement Cost.
Why Replace the Screen?
Cracks and Damages
Accidental drops or impacts can lead to cracks or damages on the screen, affecting its functionality.
Replacing the screen can restore the laptop's visual appeal and usability.
Dead Pixels or Flickering
Dead pixels or a flickering screen are signs of screen malfunction.
Replacing the screen can resolve these issues and provide a clear display.
Before You Begin
Gather the Necessary Tools
To successfully replace the screen, you'll need tools like a screwdriver set, plastic pry tools, and a replacement screen.
Backup Your Data
Before starting the replacement process, ensure that you have backed up all your important data to prevent any loss.
Step-by-Step Screen Replacement
Power Off and Disconnect
Power off your Mac Laptop Air M1 and disconnect it from any power sources or peripherals.
Remove the Screws
Carefully remove the screws securing the bottom cover of your laptop using the appropriate screwdriver.
Pry Open the Laptop
Use plastic pry tools to gently open the bottom cover, being cautious not to damage any internal components.
Disconnect the Battery
Locate the battery and disconnect it from the laptop to ensure safety during the replacement.
Remove the Old Screen
Carefully detach the old screen from the laptop's frame, taking note of the cable connections.
Replace with the New Screen
Align the new screen with the frame and connect the necessary cables, ensuring a secure fit.
Reassemble the Laptop
Put the laptop back together by reattaching the bottom cover and tightening the screws.
Power On and Test
Power on your Mac Laptop Air M1 to verify that the new screen functions properly.
Common Challenges and Tips
Cable Connection Issues
Ensure that all cable connections are secure and correctly aligned before reassembling the laptop.
Dust and Debris
Clean the internal components of your laptop to prevent dust or debris from affecting the new screen.
Professional Help
If you are uncomfortable with the process, consider seeking professional help to avoid any further damage.
Benefits of DIY Screen Replacement
Cost-Effective
DIY screen replacement can be significantly more cost-effective than seeking professional repair services.
Quick Turnaround
With the right tools and skills, you can replace the screen relatively quickly, minimising downtime.
Personal Satisfaction
Successfully replacing your Mac Laptop Air M1 screen can be a rewarding experience.