Making a Plan for Your New Paint Job
Painting the floor of your garage takes a number of hours and should be done over the course of a few days. Therefore, while you are planning your project, you should set aside a weekend during which you will be able to devote your whole attention to preparing, cleaning, and painting your garage floor. Consider the possibility that you will need to store various cumbersome objects, including your vehicle, outside during this time period. It is possible that you will need to reschedule your event because the weather prediction is not looking good. Keep an eye on the temperature as well. In order for floor paint to dry properly, the surface must be above 13 degrees Celsius, and the air temperature should not exceed 30 degrees Celsius. As a result, it's a great project to work on in the spring or fall.
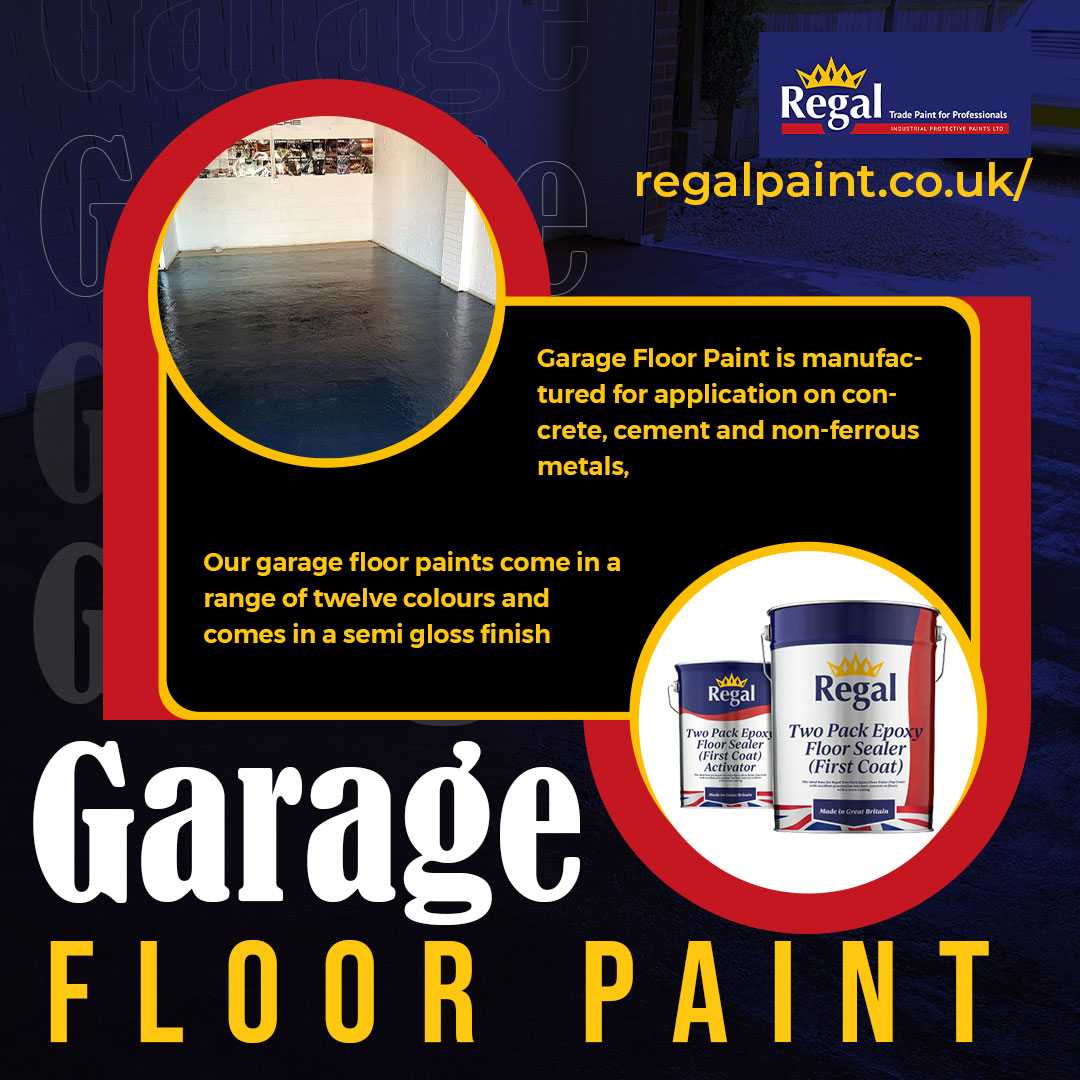
In addition to that, you need to do extensive study on the kind of paint that you intend to use for your project. This will rely greatly on the surface that is there already as well as how you plan to use your garage. Epoxy floor paint are often favoured over other types of garage floor paints because of their resistance to grease, oil, and chemicals. There is a wide variety of garage floor paints available, including solutions that are based on water as well as solutions that are based on a solvent.
The installation of epoxy floor paint does require a little more preparation than other types of floor paint, but due to its long-lasting resilience, it is well worth the additional work in the long run. Epoxy paint is available in a variety of colours, is non-toxic, and is simple to clean; additionally, there is the option to include anti-slip chemicals, which provides extra safety benefits. In order to accomplish the goals of this article, we will discuss how to properly prepare and apply epoxy paint, as well as how to obtain a finish that will stay for a long time.
Preparing Your Carport or Garage
It is vital to declutter your garage in order to leave the floor area fully clear before you begin the process of cleaning and painting the floor. Before you get started, the floor space should be completely clear. You will be able to access all regions of your garage floor with ease if you accomplish this, and you will also be creating a secure working environment for your project.
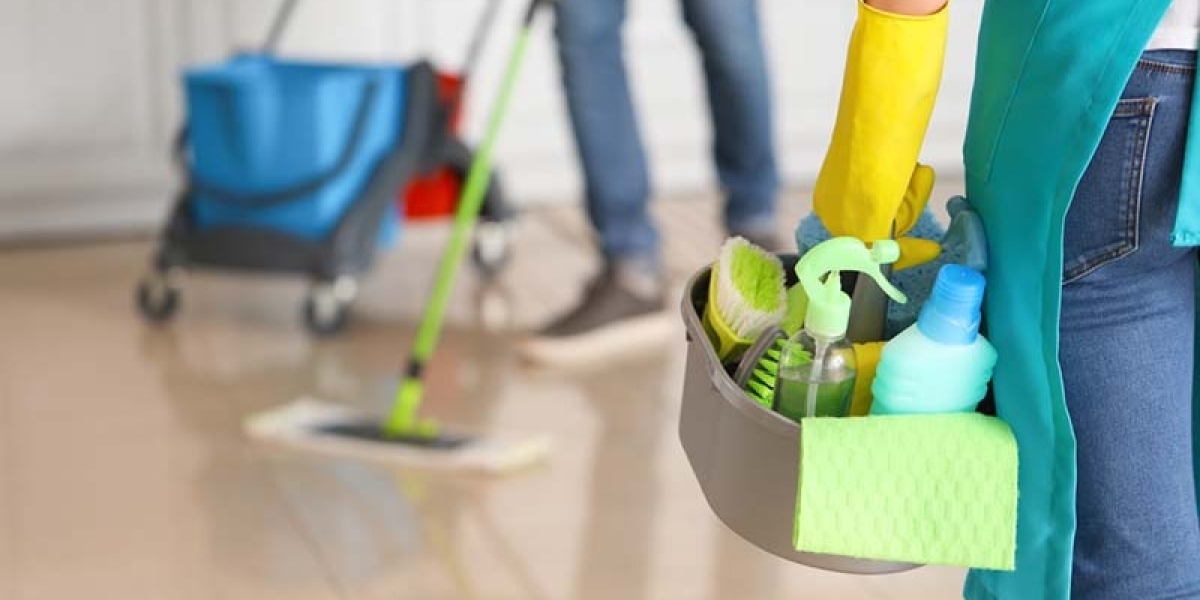
After that, sweep the floor meticulously to remove any dirt and grime, paying special attention to the crevices and other spots that are difficult to access. Work your way forward from the back of the garage to the front of the space, moving from back to front, so that the dirt may be easily swept out the door. You should apply a protective layer around the lower portions of the garage walls if you want to protect the walls from water and chemicals. This will prevent paint and solutions from splashing onto these surfaces and damaging the walls.
Next, scrub the grease and grime off the concrete floor by using a pressure washer. Locate places that have considerable grease stains and filth, and then focus your efforts on cleaning those areas with a bleach solution or a concrete cleaner designed specifically for the job. After allowing this to fully absorb, proceed to thoroughly rinse the entire floor. The use of a pressure washer, if you have access to one, is an efficient way to speed up the procedure. It is important to keep in mind that when dealing with chemicals, you should make sure that your garage has adequate ventilation and that you are using protective gear such as goggles and gloves to shield you from the chemical spray.
Spend some time looking for cracks and dents in the floor once you have ensured that the area has been given adequate time to dry completely. Before applying epoxy floor paint, it is absolutely necessary to fill in these imperfections so that the surface is even and smooth. Find an appropriate concrete filler to remedy any faults, and then wait for it to completely dry out before moving on to the next stage of your project.
The Process of Etching Your Garage Floor
Because concrete surfaces are typically smooth, they frequently have difficulty absorbing paint, hence etching is an essential step in the painting process. The finish of your paint application will seem better as a result of etching since it generates a surface that is more uneven and allows paint to better adhere to it. Etching is accomplished with a variety of acids, the most common of which being muriatic acid and phosphoric acid. There is a large selection of acid etchers available on the market. However, extreme caution is required while working with the former, as acid solutions can be extremely abrasive and potentially harmful if they come into contact with the skin. When you are etching your garage floor, you should always make sure to wear protective gear, and you should also make sure the area has adequate ventilation.
If you want detailed information about how to apply etcher to your garage floor, the manufacturer's instructions are the best place to look. Before uniformly spreading the solution onto the concrete, you are typically necessary to lightly moisten the surface first. This can be done with a low-pressure hose or a watering can. After that, you should take a brush and scrub the surface lightly in a circular motion in both directions in order to promote the etcher. After that, give the floor a second thorough washing to get rid of any leftover chemical residue, and then wait until it is totally dry before beginning to apply the garage floor paint.
Putting on the Floor Paint Epoxy
Epoxy paints consist of two distinct components: the resin and the hardener. In order to get the thermosetting process going, these components need to be combined before they can be applied. The correct ratio of the two components of a two-component epoxy floor paint is often pre-measured and sold by many different kinds of stores. Keep in mind that once the paint and hardener have been combined, you will only have two hours to finish painting whatever it is that you need to paint before the paint becomes unusable. Make sure that you buy a separate tin for each coating and that you schedule enough time to finish the work in the allotted period of time.
If you want the results to be as good as possible, you should apply two coats of epoxy floor paint to your garage floor. When applying the first coating on raw, uncoated concrete, diluting it with around 10% clean water will allow for improved absorption. This is because the water helps the coating penetrate the concrete more deeply. When painting the floor, use a brush rather than a roller to provide a more even and complete application of the paint. This may take a little bit longer, but it is important for the first application since it will let the solution seep into the surface more easily. It is important to keep in mind that you should work from the back of the garage towards the exit in order to avoid walking over the freshly painted surface.
It is imperative that the initial coating has completely dried before you begin working on the second application; therefore, you should wait a minimum of 12 hours between applications. After a period of 24 hours, you may be certain that the surface is prepared to receive its second coating. This time around, you won't need to damp down the epoxy paint, and if you'd want the procedure to go more quickly, you can opt to use a roller instead of brushing it on. Before you call the coating job done, double check that it has met all of your expectations so that the surface can dry to a satisfactory level the first time around.
The next step is to play the waiting game. Even though after twenty-four hours your garage floor may feel dry to the touch, the paintwork could still be easily damaged by moving vehicles or scrapes in the first few days. Before bringing your possessions and your car back into the garage, if at all possible, you should wait at least forty-eight hours. This will allow you to be certain that the surface has completely set and will be resistant to wear and strain.
Summing Up
If you follow these steps, you should be able to create a garage floor that looks like it belongs in a showroom and is durable enough to withstand the test of time using a do-it-yourself solution that is simple enough to do in a single weekend. Spend some time planning and prepping your garage for its makeover by setting up a few days during a period of time when the weather and temperature are favourable for doing so. You will be rewarded with a finish that is smooth and even on your garage floor if you are willing to put in the extra effort to thoroughly clean, etch, and paint it. Epoxy floor paint is resistant to oil, dirt, and water, and when applied correctly, it can transform any area into one that is both functional and aesthetically pleasing.